Saturday, 14 February 2015

Valentine shortbreads (gluten free, lactose free)

If truth be told my fiancé and I do not like the commercialism of valentines day, I can think of nothing more awkward than being in a restaurant on valentines evening. I would not say I am anti valentines, I believe in showing someone you love them, I just don't think I need a set time and day to do that, and nor do I need people cashing in on our love. Still I know many people love it, each to their own, and if it makes you happy that's fabulous.

I made these biscuits however for two reasons. One I won a bake off at work and one of my prizes was this cute letter stamp set from Lakeland. With valentines a few days away I decided shortbread lovehearts could be quite cute. Secondly the letter for this months alpha bakes is V. So that was sorted, a Valentines bake.


Oh there is a third reason to make these, they are yummy. Vanilla shortbread sandwiched with lemon or chocolate buttercream. As you know if you handle regular shortbread to much it becomes tough, this is the caused by the gluten in the flour, The best thing about using gluten free flour is that the gluten is not there, which means that you can re-roll the scraps of this dough until they are all used up and no tough biscuits occur. Actually they are fantastically short, I think they are better than shortbread I made with wheat flour, hurrah! I have used lactose free butter for that buttery taste, If anyone uses a completely dairy free spread to make shortbread I would love to know how they turn out.

You could make these biscuits in any shape you like, not just hearts, and you do not have to stamp them if you do not have stamps, they will still taste delicious.


Vanilla shortbread 

200g lactose free spread
100g caster sugar
tsp vanilla extract/paste
275g GF plain flour
1/2 tsp xantham gum

For the buttercream

50g lactose free spread
150g icing sugar
splash of diary free milk if needed
Tablespoon of cocoa powder
zest of a lemon


Beat the spread, sugar and vanilla paste together until combined and creamy, then fold in the the flour ans xantham gum. It will initially look like you have way too much flour but be patient all will be fine. Wrap the dough in clingfilm and refrigerate for 30 minutes.

Line the baking sheets with baking parchment. Roll out the dough between two sheets of clingfilm until 5mm thick, stamp out shapes of your choosing and transfer them to the parchment lined baking sheet. Transfer the baking trays to the fridge for 15 minutes. While the cut out biscuits are chilling preheat the oven to 180C/160C FAN/ gas mark 4.

Bake the biscuits for 20 minutes until lightly golden. Leave to cool briefly on the baking sheet before transferring to a wire rack to cool completely.


To make the buttercream beat the sugar and spread together until light and creamy, if it need a little help to come together add the tiniest splash of dairy free milk. I then split the buttercream in half. To one half I added the lemon zest and to the other I added the cocoa powder which I had made into a paste with a tablespoon of boiling water.

Once the biscuits are cool sandwich together with the buttercream. I only sandwich a few together at a time. I keep the unsandwiched biscuits in the tin and the buttercream covered in the fridge. I then sandwich biscuits as and when I need them. This way the biscuits stay beautifully crisp.

Monday, 26 January 2015

Lemon Victoria Sponge

January seems to go on forever doesn't it? Its still cold and dark but without the sparkle of Christmas lights in December and pay day seems ages away, for me personally when I get paid on Wednesday it will have been 40 full days since I was last paid. This sunshine like cake is enough to brighten the dark poor days and reminds us that spring IS on the way.

If you do not need to follow a special diet you can use butter, dairy cream, any lemon curd and wheat flour, simply omit the xantham gum. 


I will enter this cake for alpha bakes as the letter this month is L.


Lemon victoria sponge

3 eggs, weighed with shells, room temperature
Same weight of dairy free spread
Same weight of sugar
Same weight of GF plain flour
1 tsp baking powder
1/2 tsp xatham gum
Tsp vanilla paste
zest lemonLemon curd (I made my own, so it was dairy free)
Dairy free cream
Grease and line the base of two 20cm cake tins, if like me you do not have two tins then make the cakes in batches. Preheat the oven to 180C/160C FAN/GAS MARK 4.

Beat the butter and sugar together until light and fluffy then beat in the vanilla, lemon zest and eggs for a further minute. Add the flour, baking powder and xantham gum and beat until just combined. Do not overbeat.

Divide the mixture equally between the tins and bake for. 20-25 mutes until golden and springy.

Leave to cool in the tin for 5 minutes before turning out onto a wire rack to cool completely.

Once cold sandwich the cakes together with whipped dairy free cream of your choice and plenty of lemon curd.


Sunday, 18 January 2015

Sticky toffee pudding cake

I am a recent convert to sticky toffee pudding and now I cannot get enough of it comforting sticky goodness. It was cold and dark outside and the news was somewhat depressing and I decided a comforting cake was needed. So I concocted a plan to put all the comforting loveliness of sticky toffee pudding in a cake.

This cake was a bit of an experiment but it did all it was supposed too and more. It was absolutely delicious warm from the oven with a little yoghurt and drizzle of maple syrup. It also kept very well and was perfect with a morning cuppa.

I reckon with buttercream of your choice and a bit of decoration this could be an excellent celebration cake as an alternative to chocolate.

I love this cake so much that is is a strong contender to be a layer in my wedding cake... if that does not convince you to try it I do not know what will!


Sticky toffee pudding cake

150g pecan
200g stoned dates
200g dairy free or lactose free spread (I used lactofree this time)
140g light brown sugar
1 tsp vanilla extract
4 medium eggs
140g self raising GF flour

Heat oven to 180C/fan 160C/gas 4. Butter and line the base of a 20cm springform cake tin.

Tip 100g of the pecans into a processor and whizz until fine then continue to process until it becomes a paste, like peanut butter. Add the dates and blend until a thick smooth paste forms. If your dates are a bit dry put them into a small pan with enough water to cover, boil for 5 mins until very soft. Drain, discarding the liquid, then whizz in the processor with the ground pecans until smooth. 

Beat the butter, sugar and vanilla together until light and creamy, then tip in the dates and pecans paste, eggs and a pinch of salt and beat briefly until smooth. Fold in the flour with a metal spoon, then spoon into the tin and level the top. 


Sprinkle the remaining nuts over the top (don’t press them in), then bake for 1 hour mins or until risen and golden and a skewer comes out clean. You may have to cover the top of the cake with foil to stop the top of the cake and pecans catching and getting too dark.

Leave to cool in the tin for 15 minutes before transferring to a wire rack to cool  completely.


Sunday, 11 January 2015

Baked chicken liver mousse (gluten and lactose or dairy free)

A savoury recipe today but it is baked so fits right in with a baking blog! It is so tasty and is packed full or things that are good for you, especially the liver, try not to be squeamish, once cooked it does not look like liver and did I mention it is exceedingly tasty and nutritious? If you need any more convincing chicken livers, even organic, are very very cheap!

Warm this is very very light and mousse like. When I ate this the next day it was completely cold and much firmer, like a very smooth pate. I think the best way to enjoy this is with oatcakes, or anything else with crunch.

I am going to enter this to this months alpha bakes as the letter is L!


Baked chicken liver mousse

serves 6

100g lactose or dairy free spread
1/2 apple, finely chopped
1/2 small onion, finely chopped
100g liver
2 medium eggs
pinch of salt
tablespoon of brandy

Preheat the oven to 150C/130FAN/GAS MARK 2 and grease and line a small loaf tin (14cm by 7cm) Alternatively use small ramekins, no need to grease and line these.

Gently melt the spread before adding in the chopped apple and onion, gently cook for 5 minutes until softened. Remove from the heat and allow to cool slightly.

Put all the ingredients including the cooled spread, apple and onion mix into a food processor and blend until very smooth. 

Pour into your prepared loaf tin or ramekins, place these into a deep roasting dish and pour boiling water  into the roasting dish until it reaches halfway up the loaf tin or ramekins. 

Transfer the roasting tray to the oven (careful!) and cook for 25 minutes in the ramekins or 35 minutes in the loaf tin. It will be set around the edges with just a very very slight wobble in the centre.

Leave to cool for a least half an hour before eating, this is very important in the case of the loaf tin if you want any chance of getting it out neatly. 


Cover any leftovers and keep in the fridge, it is amazing cold the following day. 

Thursday, 8 January 2015

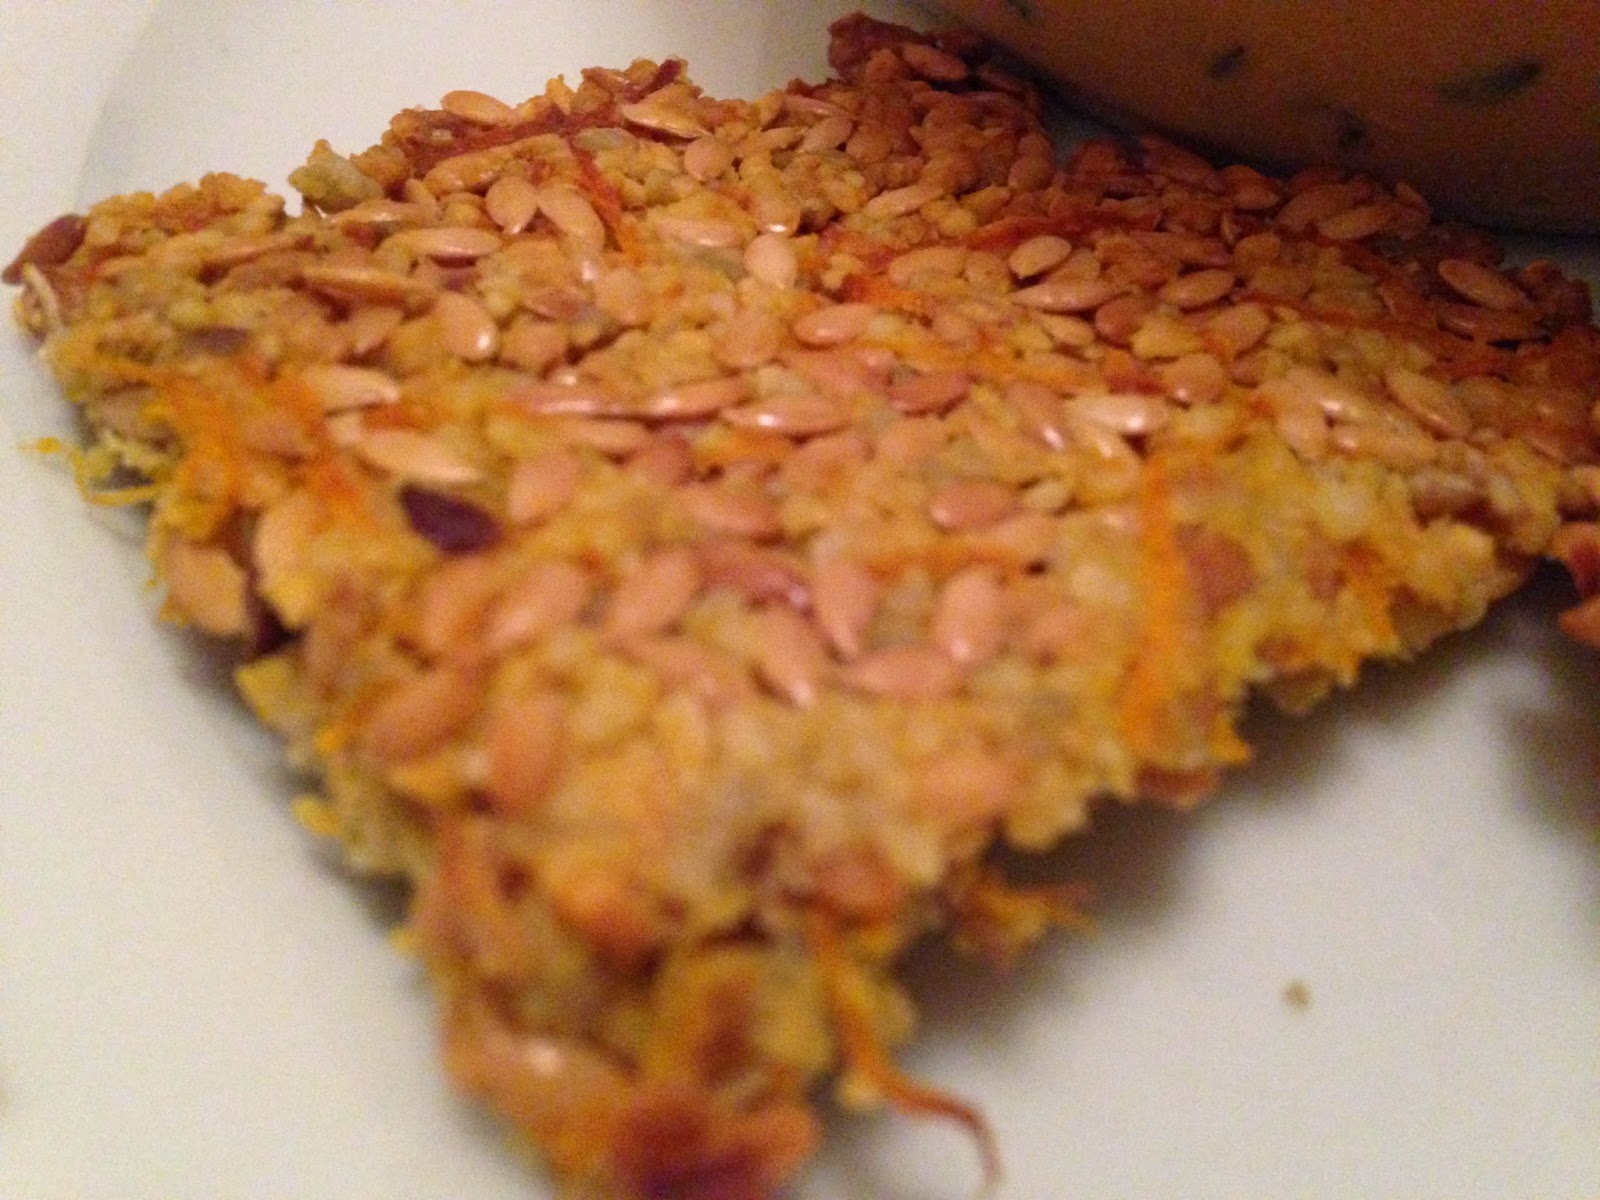
Carrot, almond, sunflower and flaxseed crackers

Happy new year! I hope everyone had a lovely holiday. I really really needed the Christmas break, hence the lack of Christmas themed recipes, though I do have a delicious mincemeat soufflé recipe to share... its too good not to post and I suppose I am not the only one with leftover mincemeat!

This cracker recipe is not a knee jerk reaction to the December excess, I do not believe in detox or deprivation especially in a dark, cold month such as January. This cracker is no rice cake, packed with nuts and seeds it is a delicious and filling snack/lunch to have with hummus, soup etc.

This recipe is adapted from the carrot and flaxseed recipe in the recipe book 'The are of eating well' by Hemsley and Hemsley


Carrot, almond, sunflower and flaxseed crackers

60g blanched almonds
40g sunflower seeds
60g finely grated carrot
80g flaxseeds (linseeds)
1/2 tsp cumin
1/2 tsp salt

Preheat the oven to 200C/180F/GAS MARK 6. Process the almonds and sunflower seeds in a food processor until they resemble a coarse flour.

mix all the ingredients together with your hands to form a dough. Roll out the dough in-between two sheets of baking parchment until very thin ~3mm thick. score the dough into squares, I had some edge pieces which are randomly shaped as my final rolled dough was not a square! Removing the top sheet of baking parchment transfer the dough, still on the bottom piece of parchment onto a baking sheet.

Bake in the oven for 12 minutes. the edge ones will cook a little quicker so cut these off and transfer to a wire rack to cool and return the remaining dough to the oven for a couple more minutes. 

The cracker will be a little soft initially but will firm up as it cools.