Thursday, 10 May 2012

Lemon and coconut squares

So I asked M if I should bake biscuits, cupcakes or a traybake. He said traybake, excellent I thought, I  had wanted to try out blondies with pecans and peanut butter chips. Alas he did not really want nuts and thought that brownies made with white chocolate would be too sickly sweet.

So back to the drawing board. He then said he remembered something from his childhood. A lemon coconut square thing. He remembered it had lemon and coconut and that it was really nice.

So working on limited information I tweaked a lemon square recipe, adding coconut to the biscuity base. Upon eating them they were declared yummy but not like the ones from his youth. These, in fact, we have worked out seem to have a 15 (digestive, marshmallow, coconut and condensed milk) base topped with more of a lemon icing, not a baked curd. I will never make these as 15s are so excruciatingly sweet that it hurts, and with more sugary icing on top I think I would have a hyperglycaemic attack! And so I am afraid it is my lemon coconut hybrid that will have to be put up with. And yes I do see the irony that he will eat the sugar fests of his youth but not a white chocolate brownie. Mind you he has said he is willing to be proved wrong.

The recipe below produces lovely lemon squares, the curd is definitely lemony enough, and the coconut adds a welcome different dimension to the shortbread style base.

Lemon Coconut squares


For the base:


230g plain flour
85g icing sugar
160g butter
100g dessicated coconut


For the topping:


3 lemons
4 large eggs
400g caster sugar
50g plain flour


Heat the oven to 180C/160C fan and line the sides and base of your tin with baking parchment. A brownie pan is the perfect size.


Put the base ingredients into a food processor and whiz until it forms fine crumbs. Tip into the prepared tin and smoothly level with the back of spoon, ,pressing it down lightly. Bake for 20-25 minutes. 


For the topping finely grate the zest of the lemons, and squeeze all the juice, you need 100-120ml. Whisk together the eggs and sugar, using an electric whisk for 1 minute. Add the zest and juice and whisk briefly to mix. Add the flour and whisk well to mix.


Pour the topping over the base and bake for 15-20 minutes, until the topping has just set.
The topping about to go into the oven
Leave to cool completely in the tin. I had to cover with foil and put it in the fridge overnight.


Lift out of the tin using the paper and dust with icing sugar. Cut into bars and enjoy.


Wednesday, 9 May 2012

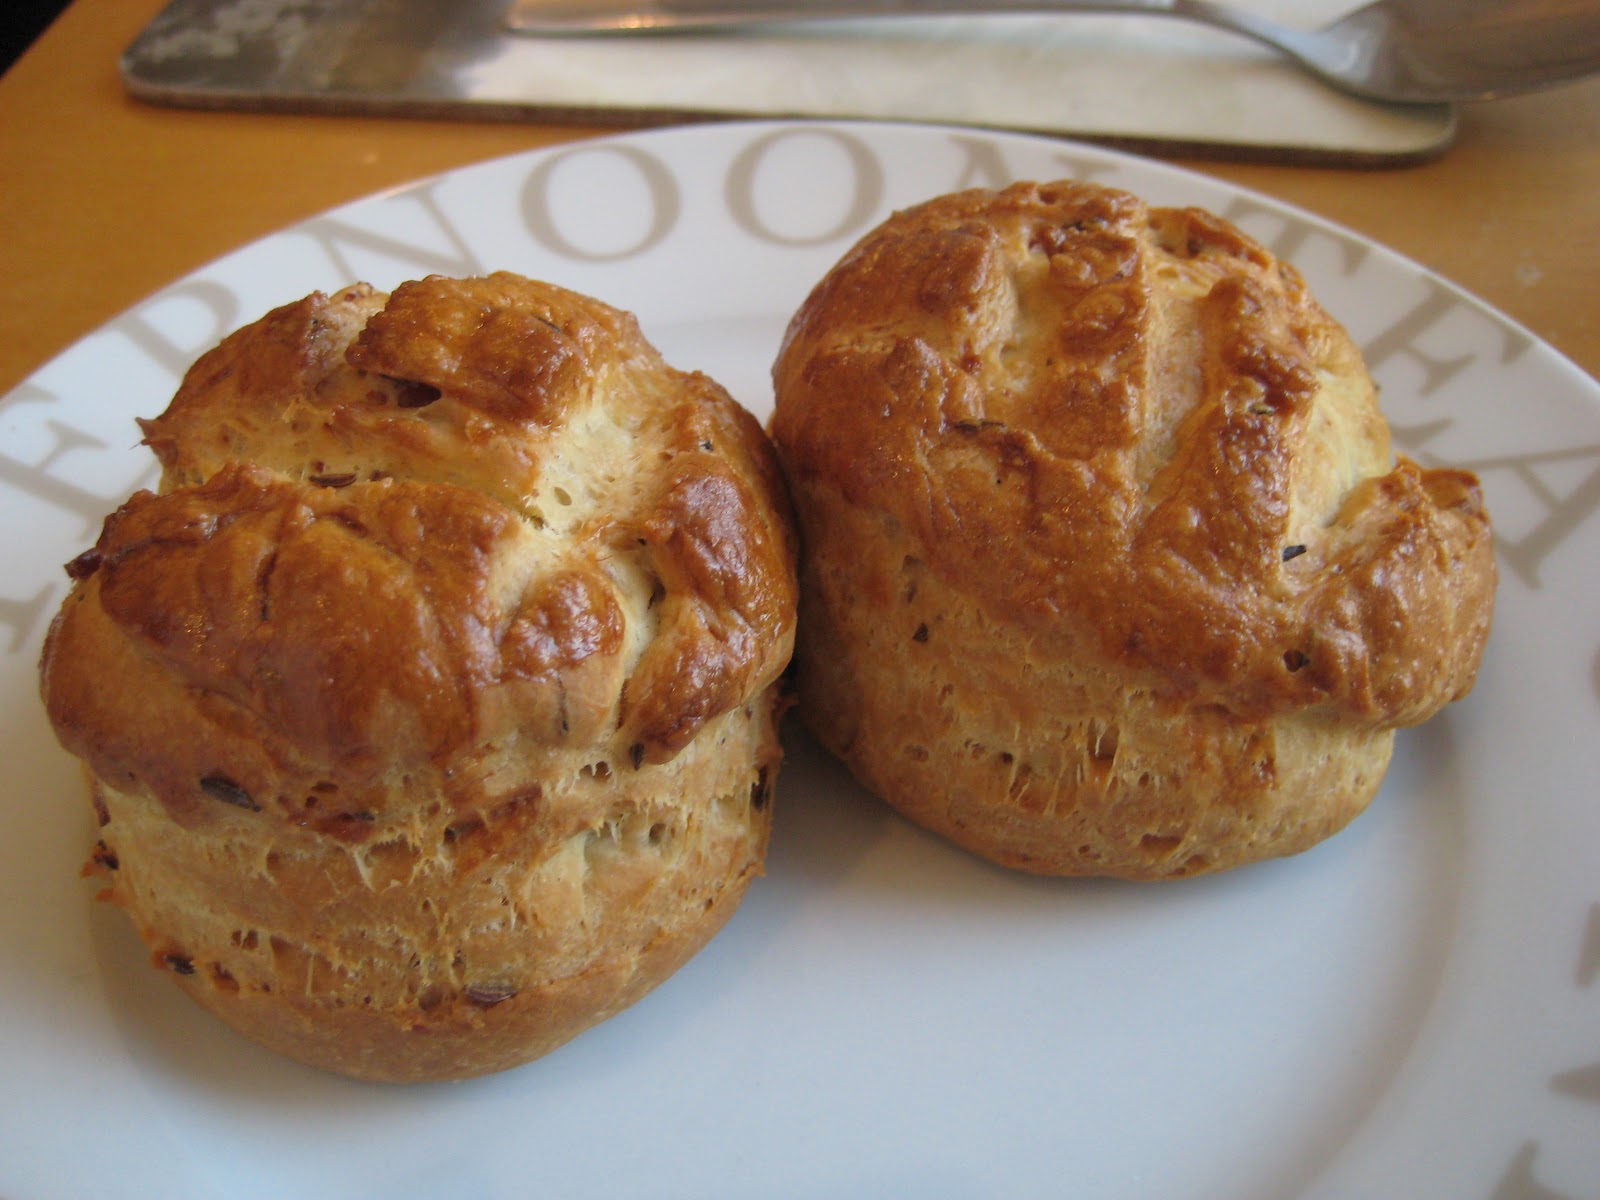
Bacon Scones

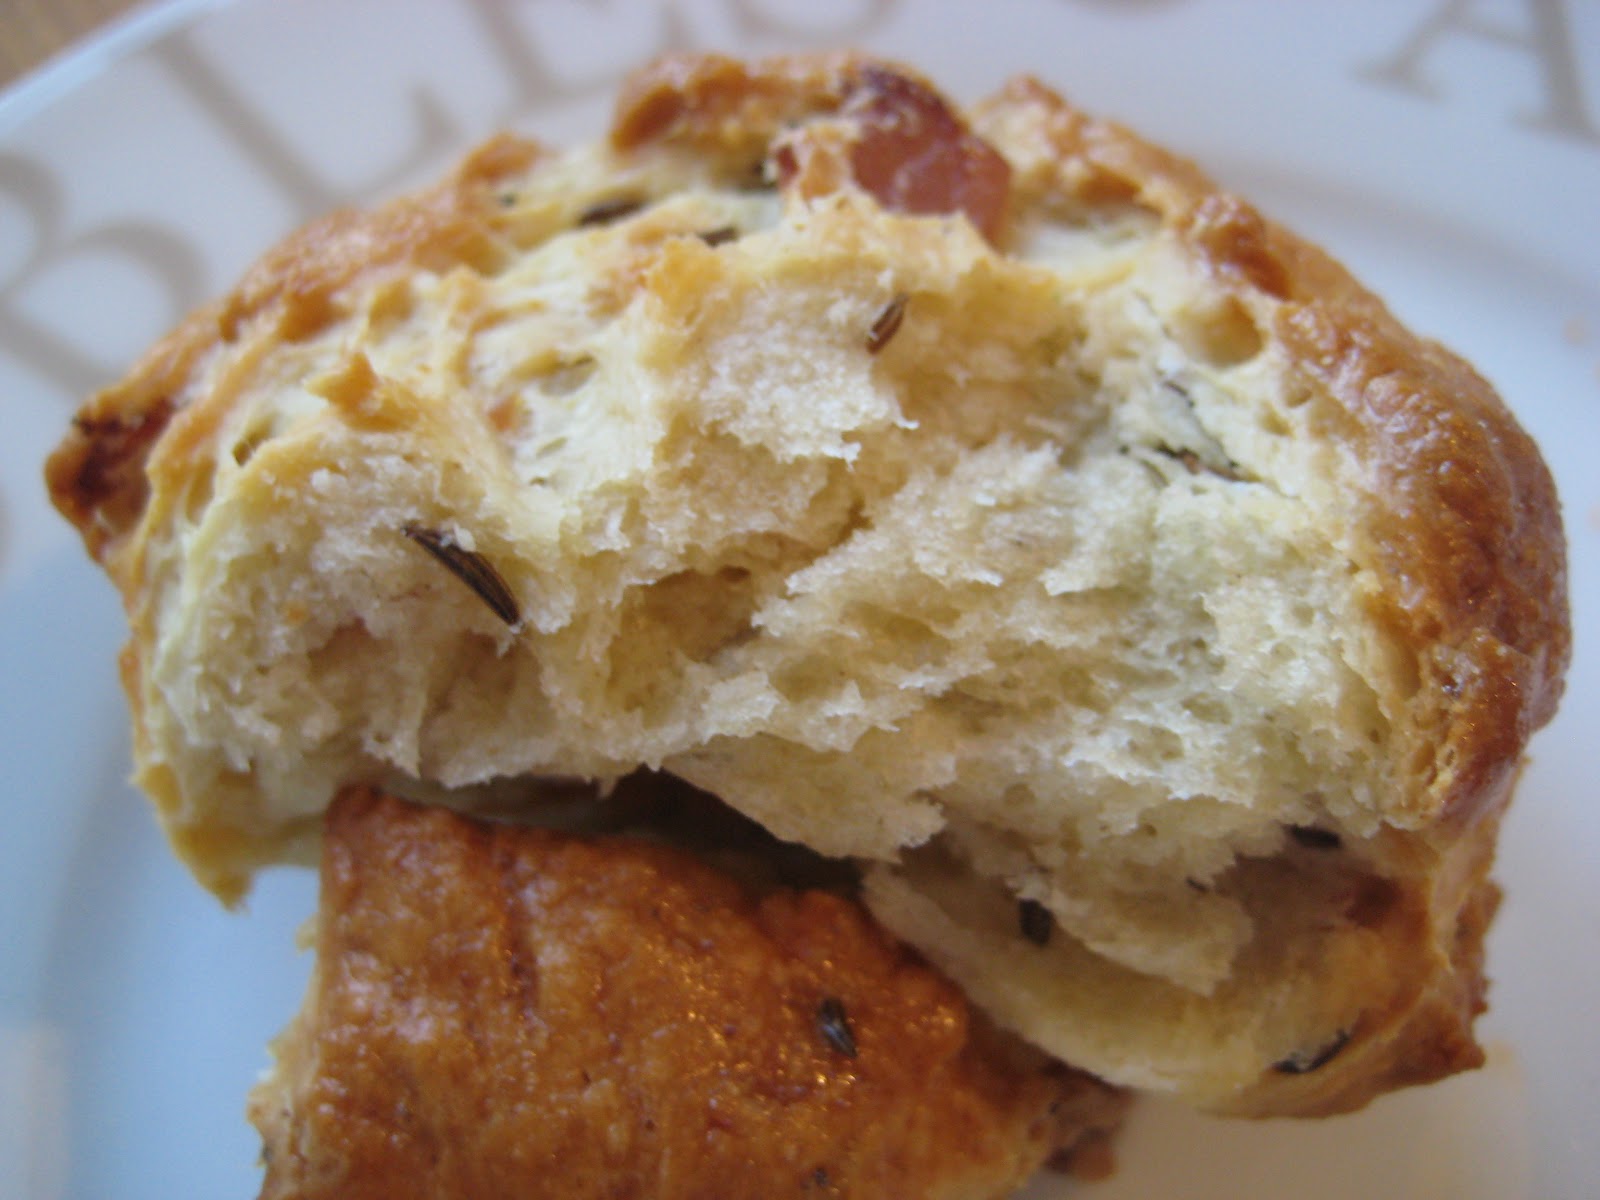
Lets get one thing straight. These are not your normal, knock up in 10 minutes and enjoy warm from the oven scones. They take time. There is rising and kneading and more rising. They contain things a scone does not normally contain such as yeast and sour cream. If you persevere however you will be rewarded with very flavoursome, light scones with a super crust.

These scones are from the Hairy Bikers big book of baking. It is important to not miss out the caraway seeds as they are what give this scone is absolutely fantastic flavour.

Bacon Scones


makes 12


60ml milk (I used semi skimmed)
1 sachet instant dried yeast (I only had back bacon, it worked fine)
250g streaky bacon chopped 
500g plain flour
1tsp baking powder
1/2 teaspoon salt
1 tbsp caraway seeds
120g unsalted butter
2 large eggs beaten
120ml soured cream
beaten egg and drop to water to glaze


Fry the bacon bits until crisp and set aside to cool.


Sift the flour into a bowl and mix in the yeast, baking powder, salt and caraway seeds. 


Put the butter into a pan over a gentle heat and melt until it is just liquid. Take the pan off the heat and stir in the soured cream and the eggs, make sure the butter is not too hot or the eggs will scramble. Add the cooled crispy bacon and the milk.


Don't panic, it does not look pretty, it will all be fine!
Pour the buttery mix into the flour a little at a time, constantly mixing to bring the dough together. Turn the dough onto a floured surface and knead for 5 minutes until elastic. 


Put the dough in an oiled bowl and cover with oiled cling film, and leave in a draught free place for about an hour and a half until it has double in size.


Turn the dough out and knock it back with your knuckles. Dust the dough with flour and roll out to ~4cm thick. Cut out rounds and place on a baking sheet lined with baking parchment.


 Use a sharp knife to cut a criss cross pattern on the top and then leave to rest for a further 30 minutes. Preheat the oven to 200/fan 180.


Brush the scones with the beaten egg and water to glaze and bake for 25-30 minutes until golden.  


These scones are fabulous warm from the oven and served with soup. Alternatively you could serve them warm and slathered in butter. If you don't eat them all at once they are perfectly good reheated in the oven for ~ 10 minutes the next day.


Sunday, 6 May 2012

Custard and White chocolate biscuits

I like custard. I like white chocolate. I like biscuits. So a biscuit proudly claiming to be all 3, has most definitely got to be tried.

By strange coincidence I have read a lot of recipes this past week that contain custard powder, this just reminds me of home, especially Christmas, when out would come the birds custard powder, ready to make custard for the Christmas pud! Although I love custard I do not really buy it, but when I do I must admit I am lazy and buy fresh ready made stuff. So I hunted out the custard powder and was very excited to find it in a tin very similar to ones I remember from my youth. And now I have a huge tin it gives me a very good excuse to make the other recipes!

Nostalgia at its best
This was another find in good food magazine.

Custard and white chocolate biscuits


makes 20-25


140g softened butter
175g caster sugar
1 egg
1/2 tsp vanilla extract (I used paste)
225 self raising flour
85g custard powder
85g white chocolate chopped into small chunks


Preheat the oven to 180/fan 160. Line 2-3 baking sheets with baking parchment.


Put the butter and sugar into a food processor and whiz until light and fluffy. Alternatively use an electric mixer. Add the egg and vanilla and mix well. 


Mix the flour and custard powder in a bowl and add to the mix, pulse until a dough is formed. Scrape the dough from the processor and work in the chocolate by hand. 


The dough is SO orange, thanks to the custard powder
Roll the dough into small balls, I used my tablespoon as a guide, and place on the baking sheets., spaced a little apart to allow for spreading. Press each biscuit lightly down with your fingers. 


Bake for 12-15 minutes until golden. Remove and cool on a wire rack.

My biscuits seem a little deeper than he picture implies, I think next time I  will press them down just a little more.


These little biscuits are very nice, they certainly got eaten quickly enough. The recipe says that they will keep well in an airtight tin for up to two weeks. Now I do not think that they will  last that long, and also I think unless your tin is super airtight they will change texture over time.


Friday, 4 May 2012

Apple crumble loaf cake

Combining two lovely things, apple crumble and cake, it has to be a winning combination.
This particular recipe jumped out from the pages of this months good food magazine, from all the delicious looking recipes this one was positively screaming to be made first.

I did have to make a couple of slight tweaks. Firstly it had raisins in, now I like raisins, I like them by themselves, smothered in chocolate or yoghurt, with nuts and in biscuits but I am not a fan of them in cakes. Besides which, when is there ever raisins in apple crumble? So I took them out. I have included them in the recipe list should you wish to put them in yourselves.

Secondly I had just purchased mini loaf tins, have you noticed how everything small is cute, even if its larger counterpart is not so? Anyway I wanted to use them so halved the recipe to make 2 cute mini loafs.

The cake itself is a very easy to eat cake, there is no creamy icings or rich chocolate, it is a delicious but slightly less indulgent treat. The cake is very light but has a very soft texture, not dry at all, thanks to the apples I presume, and the crunchy topping with the hazelnuts is absolutely fantastic.


Apple crumble loaf cake


For the loaf:


140g butter
250g self raising flour
2 tsps mixed spice
140g light brown sugar
3 large eggs
2 apples peeled and chopped
5 tbsps milk
100g raisins (optional)


For the crumble:


25g butter
25g plain flour
25g brown sugar
25g chopped hazelnuts


Grease and line a 2 litre loaf tin with baking parchment and preheat your oven to 160/fan 140. I always line the bottom of my cake tins no matter how "non stick" they are. If my tins are very non stick so I feel no need to line the sides, this has always worked so far for me.


I have to admit I have no idea if a 2 litre loaf tin is similar to a 1lb tin or a 2lb tin. I presume it is a 2lb tin but Google has failed me in this simple conversion. I halved the recipe and got two mini loafs.


Pop the butter, self raising flour and mixed spice into a food processor and pulse till it looks like breadcrumbs. Or you could put it in a bowl and beat it until it looks like breadcrumbs. 


If done in a food processor, transfer the mix to a bowl. Stir through the sugar and the raisins, if using. Mix the eggs, milk and apple in a jug and add to the bowl, stir to combine everything. Pour into the prepared loaf tin(s) and level the top.


Bake in a preheated oven for 50-55 minutes, until firm on top and a skewer comes out clean. I cooked my mini loafs for 40 minutes. 


Although I do love the simplicity of this cake it has given me inspiration for a indulgent apple crumble and custard cupcake... watch this space


Wednesday, 2 May 2012

Milk chocolate and coconut biscuits

Now I cannot tell a lie, I am new to the joys of coconut. Oh I have long enjoyed it in savoury dishes, but sweet and coconut, for me, were NOT a match made in heaven.

However I have suddenly developed a love for most things coconut (not all, I will never like the bounty bar...). After the yummy success of vanilla coconut cupcakes, I wanted more coconut in my life.

This weekend was one of those times where I wanted to bake but did not want anything complicated, not lots of stages, no separate elements, no piping bag etc. By fabulous coincidence I had read a very simple looking biscuit recipe earlier that week and it contained coconut. It seemed obvious what I had to do...

The recipe in question can be found on the caked crusaders blog, I urge you to have a look at this blog, it has cakes galore and I want to make everything!

I admit I did half the recipe as I was not sure how many biscuits I would end up with. I shaped them using my tablespoon and ended up with 14 nice sized biscuits.


I used dairy milk chopped up as my milk chocolate, when I use milk chocolate in baking I tend to buy milka, galaxy or dairy milk depending what is the best price, it is so much cheaper than buying ready chopped chocolate chunks. And inevitably there is always some left over for the chef to munch!


These biscuits are light and crumbly, and quite frankly absolutely divine, they do last a few days in an air tight tin but I am not entirely sure I see them lasting that long at all!